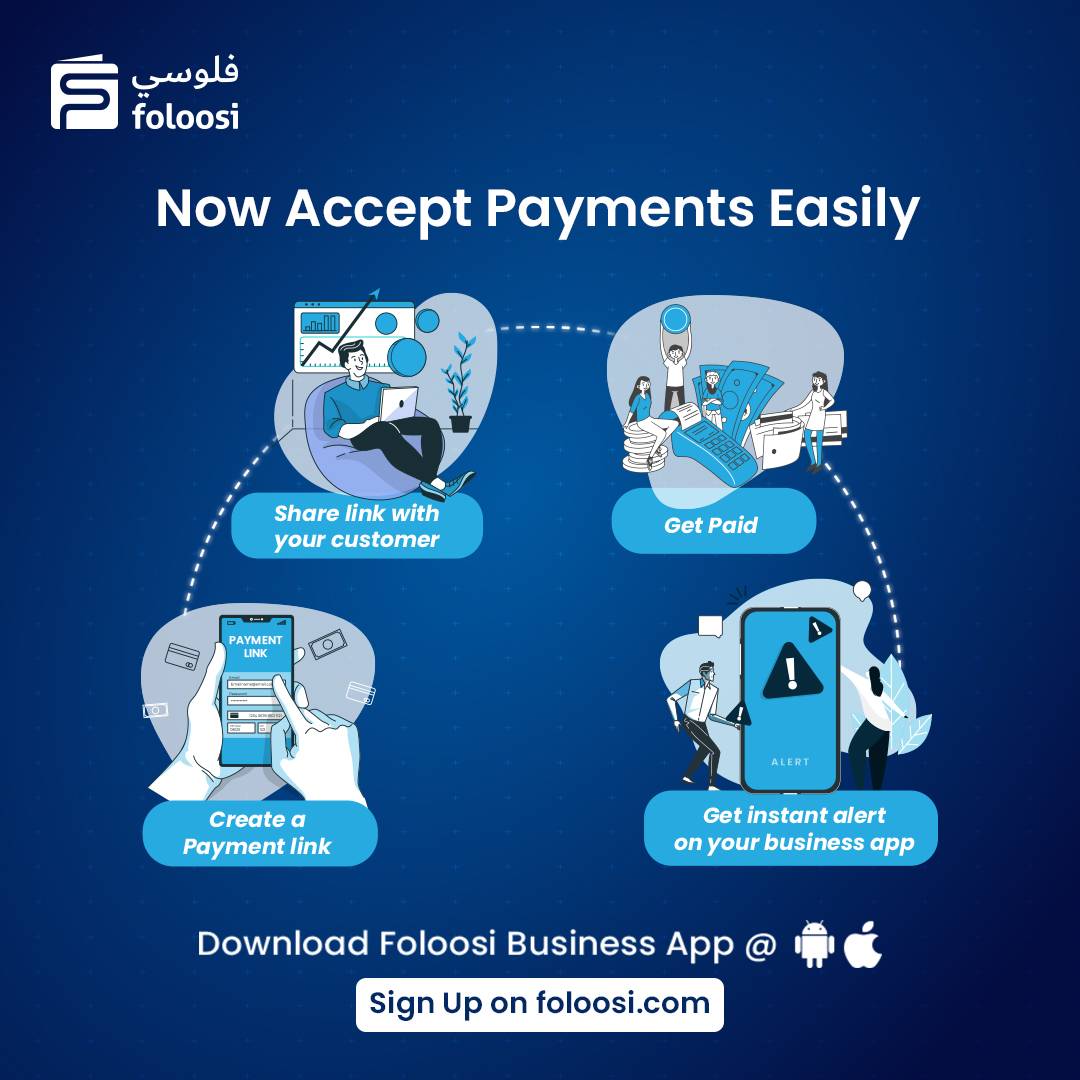
Foloosi provides an easy and very convenient online payment system for merchants to receive payments from customers with the payment links feature. It enables merchants to easily receive payments by sending payment links through SMS, Email or social media chats.
Steps to create Payment Links in Foloosi Payment Gateway:
Step 1:
Visit https://merchant.foloosi.com/ and use your login credentials to access your merchant account. In the Foloosi merchant panel, open the Payment Link tab in the left sidebar and in the drop-down options, click on Payment Link.
Next, click the Create Payment Link tab at the top right corner of the Payment Links dashboard.
Step 2:
Update the required payment details as requested in the Create Payment Link pop-up window:
1. Amount: Update the required payment amount by selecting the appropriate currency code.
For example: $30 (30 USD)
2. Payment For: Enter the description of the payment.
For example: Payment for laptop accessories
3. Link Type: Choose the preferred link type.
· Single Link Type – The payment link applies to only one customer for a single use. The link will be expired once the customer makes the payment.
· Multiple Link Type – Multiple payment link is created for multiple customers to pay from the same link. After you choose Multiple link type, you can proceed to click on Create Payment Link and the link will be generated and ready to use.
4. Customer Details: To proceed with Single Link Type, enter the requested customer details.
· Contact Number – Used to notify the link via SMS
· Email ID – Used to notify the link via email
5. Choose the preferable method to send the payment link to the customer via SMS, Email or both.
6. Add a unique Receipt No. for the specific payment link created (for internal purpose only).
Step 3:
Once all the payment details are updated, click on Create Payment Link. According to the details and preferences updated, the payment link will be generated and sent to the customer via SMS, Email or both. Also, you can also copy the URL and share it via social media chats.
Step 4:
In the Payment Links dashboard, you will be able to view the records of all the generated payment links. Here in the Action tab, we have further options available, such as viewing the Details of the payment link, set a Reminder, Copy URL to copy the link, Activate or Deactivate the payment link or to Delete the link.
Also, in the top-right corner of the Payment Links dashboard, you have the option to Download the records of all the generated payment links in XLS or PDF format.
Now get to know, How to Create Payment Links in Bulk


